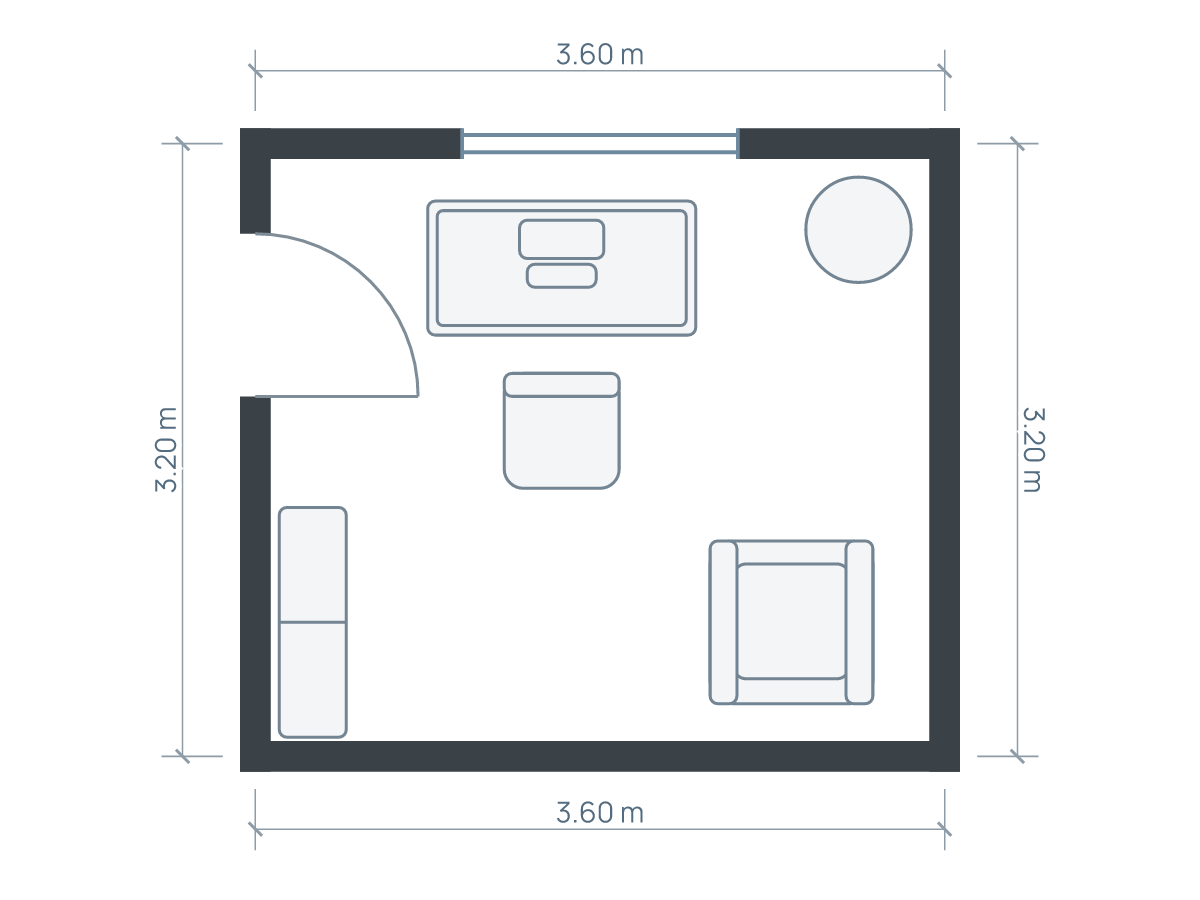
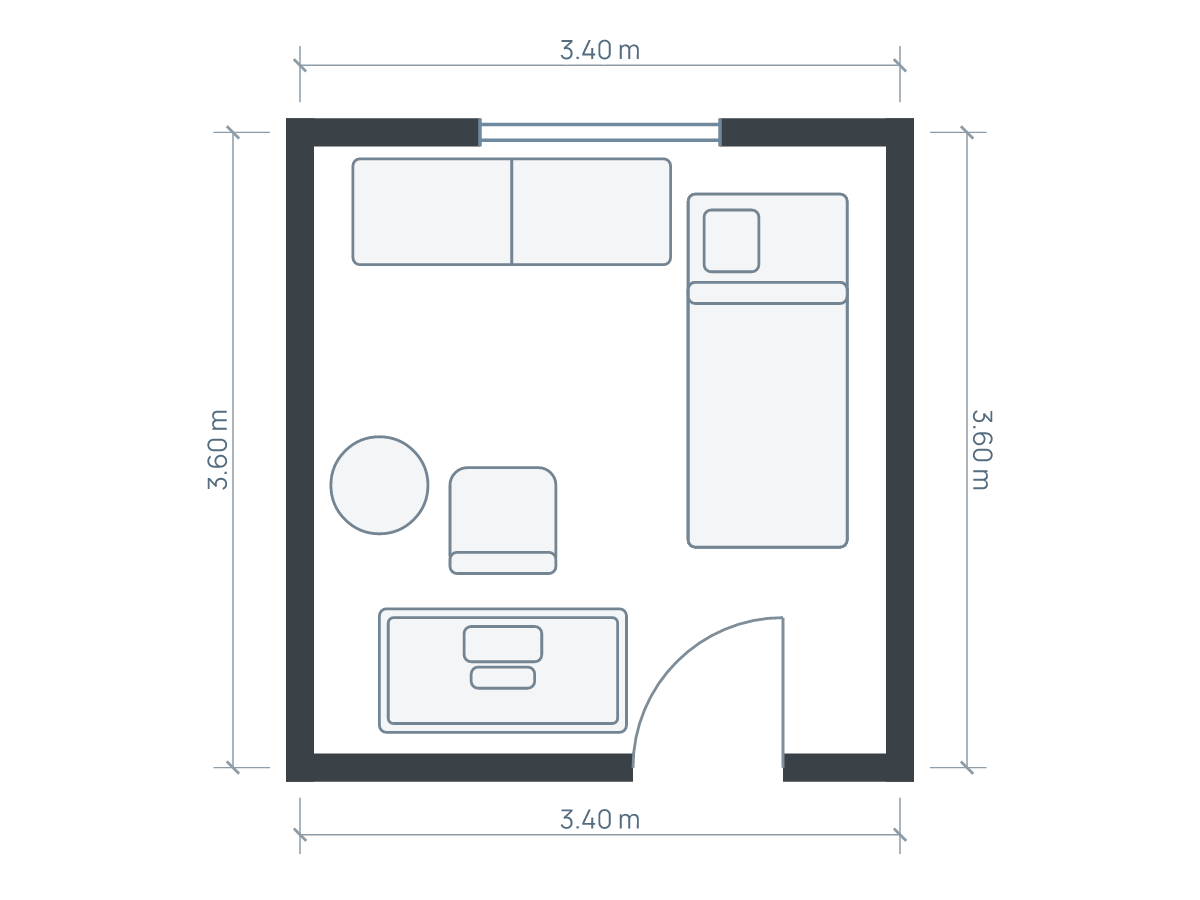
Choose the kind of separation you need
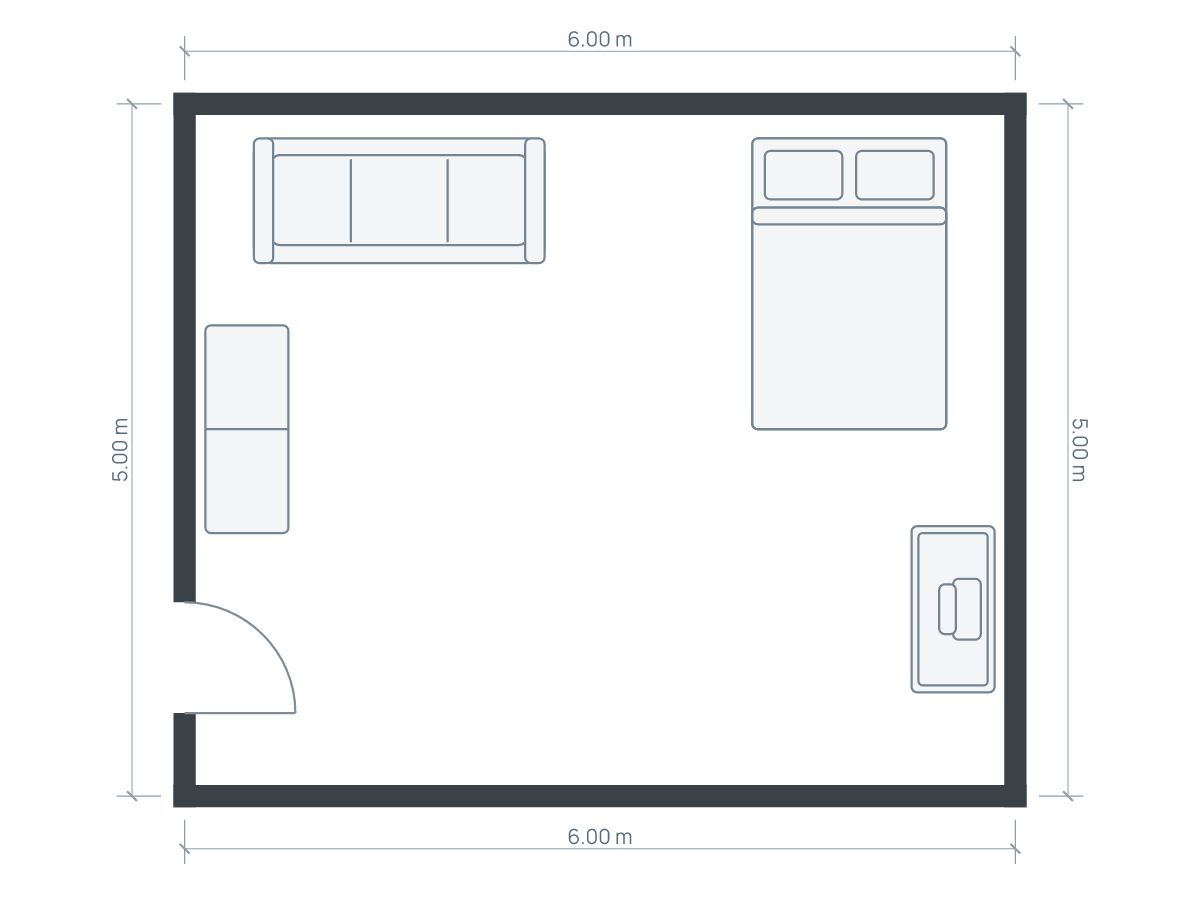
Separate the activities first, then decide whether they need a physical boundary. A bed facing away from the sofa may give enough visual distinction. A curtain can screen bedding. Storage can form a more permanent edge, but it also takes floor space and needs safe installation. None of these choices automatically creates a separate legal bedroom or a quiet room.
Write one sentence about the problem: “I do not want to see the bed from the entrance,” “I need somewhere to dress,” or “I want to sleep while someone watches TV.” Those are different needs. A low shelf might answer the first while doing little for the other two.
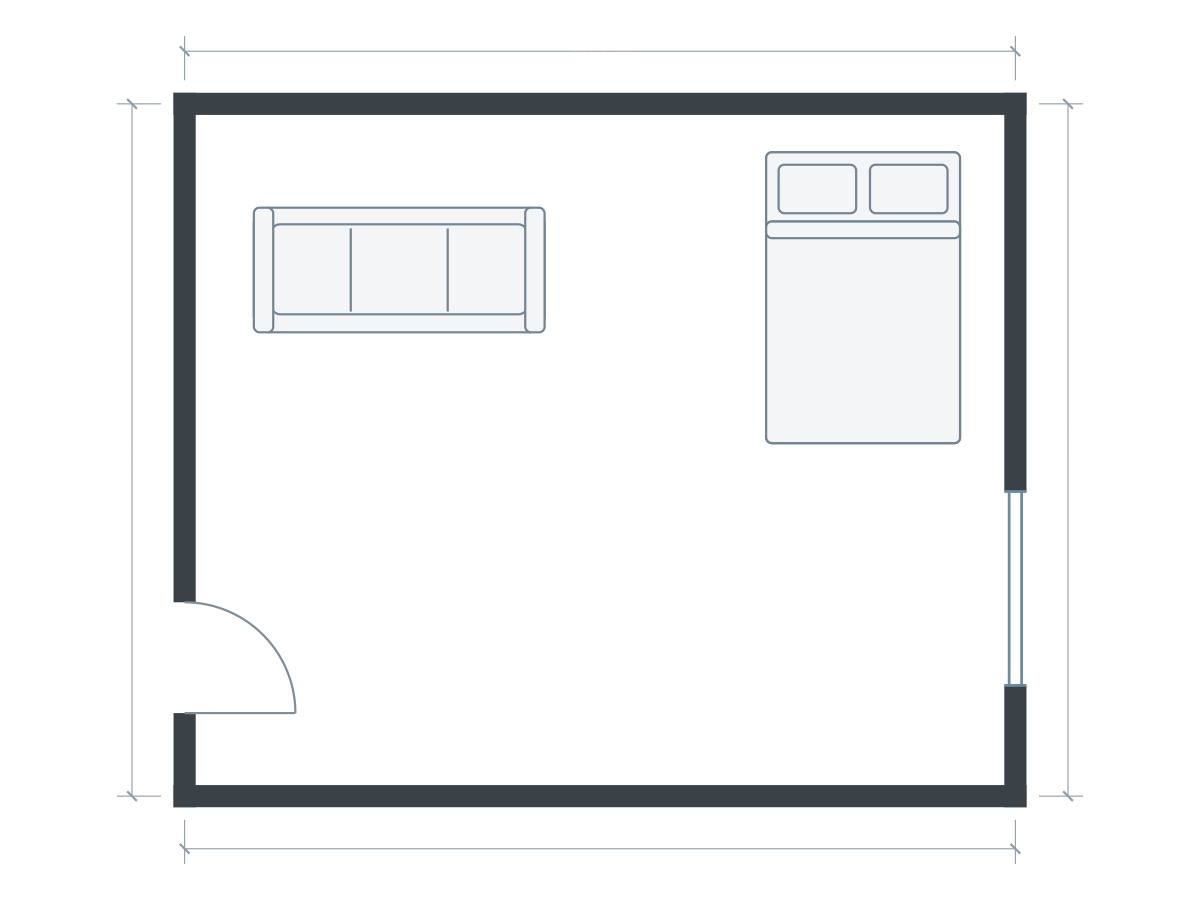
Furniture sizes in this drawing
| Piece | Meters | Feet |
|---|---|---|
| Double bed | 1.40 × 2.10 | 4.59 × 6.89 |
| Sofa | 2.10 × 0.90 | 6.89 × 2.95 |
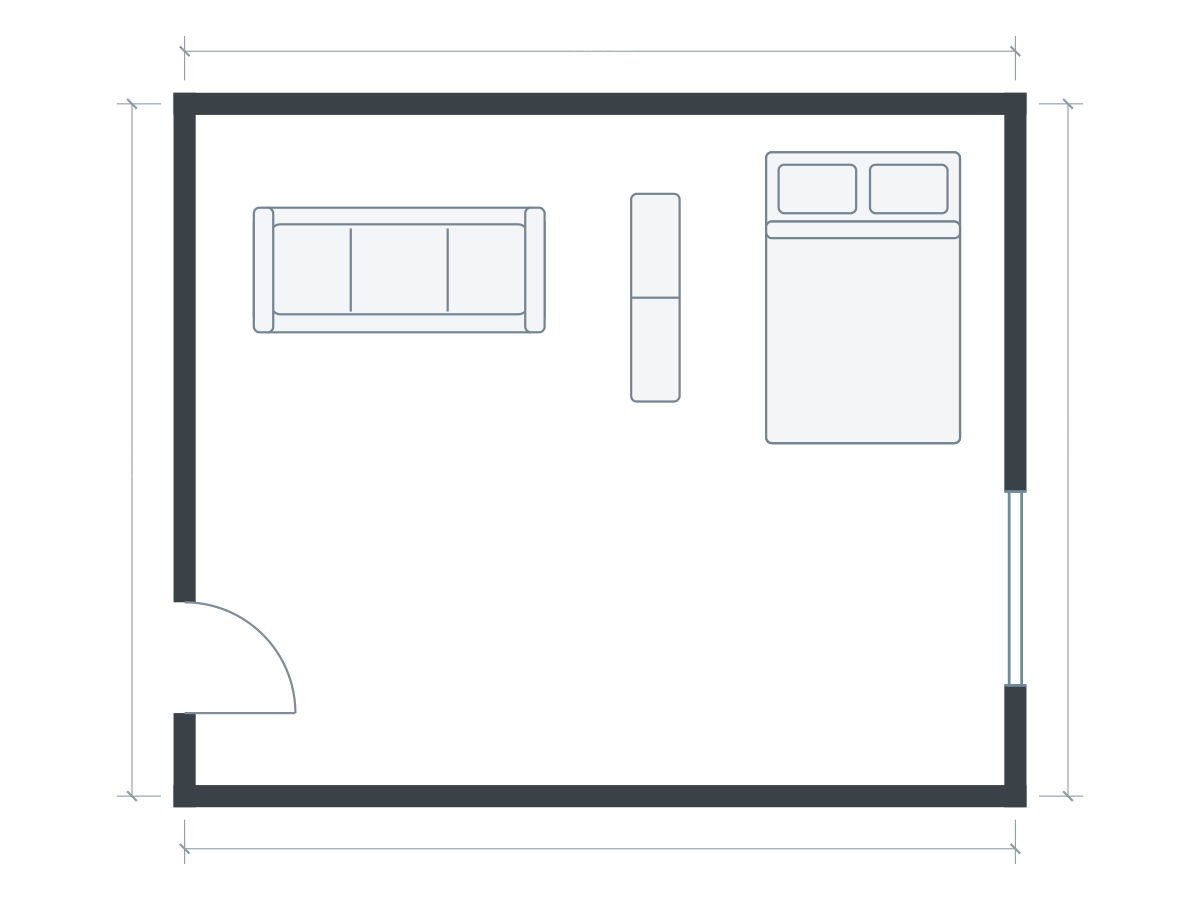
Furniture sizes in this drawing
| Piece | Meters | Feet |
|---|---|---|
| Double bed | 1.40 × 2.10 | 4.59 × 6.89 |
| Sofa | 2.10 × 0.90 | 6.89 × 2.95 |
| Bookshelf | 1.50 × 0.35 | 4.92 × 1.15 |
The alternatives use the same room outline and drawing scale. Open each to inspect and save an independent editable copy. Illustrations show footprints; drawer travel, vertical clearances and continuous walking routes need separate checks.
Calculate the divider before buying it
Take an illustrative main-room outline of 6 × 5 m (19.69 × 16.40 ft). This is the rearrangeable room, not a whole-apartment listing area. Keep any fixed kitchen, bathroom and their access in place. A bed frame is 1.4 × 2.1 m (4.59 × 6.89 ft), and a sofa is 2.1 × 0.9 m (6.89 × 2.95 ft).
A storage divider 1.5 m wide and 0.35 m deep (4.92 × 1.15 ft) occupies 0.525 m², about 5.65 ft², before access to its shelves or doors. Put it across a route and its small-looking footprint can have a large effect. Draw the occupied chair, open storage and bed approach as well as the divider.
For wall-to-wall budgeting, use measured clear internal dimensions. Planlilt wall dimensions follow centerlines; the 6 × 5 m outline is not a promise of that much unobstructed floor.
Compare three boundaries
No divider: turn or position the bed and sofa to define separate ends of the room. This costs no additional furniture footprint and preserves a broad view, but the bed remains visible from some seats.
A curtain or lightweight screen: this can hide the sleeping area when wanted and open it again in the day. Check the track or feet, folded or gathered position, and how the screen moves. The curtain is a visual device; do not assume it blocks sound or creates an independently ventilated room. Verify fixings, nearby heat sources and any landlord restrictions for the chosen product.
A storage divider: this combines an edge with useful storage, but it has depth, weight and access needs. A wall-mounted unit cannot simply be turned into a freestanding divider. The CPSC’s Anchor It guidance stresses securing top-heavy furniture and following the manufacturer’s instructions. Choose an installation intended for the position you are drawing.
Check daylight from both sides
A top-down plan shows the position of the boundary but not how much light it blocks. Stand where the pillow, sofa and work chair will be. Use a temporary sheet or cardboard mockup to understand what each position sees. A tall opaque divider beside the only window can affect the rest of the room even if its footprint is narrow.
Do not block an opening you need to use. Window operation, ventilation, heating and escape provisions depend on the actual building and local requirements. Keep existing systems accessible and get qualified advice before creating an enclosure or changing the building. Planlilt does not assess these matters.
Test a normal evening, then a normal morning
With the proposed boundary marked, walk from the entry to the kitchen, bathroom, sofa and bed. Repeat with a dining or desk chair pulled out. In the morning, test dressing and opening storage without pushing bedding into the route. If the divider forces every trip around the foot of the bed, try moving the bed rather than shrinking the passage by guesswork.
Common mistakes are buying the divider before placing the bed, treating open shelving as invisible, forgetting its stability requirements, and planning only the tidy daytime version. A divider is useful when it solves a specific problem without creating a more inconvenient one.
Compare a boundary with an open alternative
Open the editable studio starting layout and replace its dimensions and fixed details with your own. That existing example has a 7 × 5 m outline (22.97 × 16.40 ft); it is a different starting shell from the 6 × 5 m calculation above. Keep a copy without a divider and compare a second arrangement with your measured boundary.
For a fair comparison, hold furniture sizes and the room outline fixed. Change only the positions or the proposed boundary, then check the real room with temporary markings. Continue with the two-layout comparison method if both versions seem plausible.
Sources and editorial approach
Published by Planlilt. Worked dimensions and layout choices are illustrative assumptions unless a source is identified beside a claim. Feet use 1 ft = 0.3048 m and are rounded decimal equivalents. No search-volume estimates or professional certification are implied.
- CPSC: Anchor It furniture safety — Secure top-heavy furniture according to manufacturer instructions; no endorsement of freestanding shelving as a divider.
Original Planlilt geometry; illustrative 2D plan, not a photograph or 3D render.