Measure a shape you can check, rather than a pair of numbers
For a useful furniture plan, record every change in the room outline, locate openings from a consistent starting corner, and take cross-checks before you leave. A room described only as 4 by 3 metres can hide a chimney breast, a narrow entrance or a wall that is not square. Keep the measured record separate from the drawing so you can trace a doubtful dimension back to its source.
If this is your first survey, use the shorter room-measuring guide for the basic equipment and sequence. Here the task is to build a worksheet that survives an irregular outline and numbers that disagree. The example measurements below are invented to demonstrate the method; they are not a survey of a real property.
Furniture sizes in this drawing
| Piece | Meters | Feet |
|---|
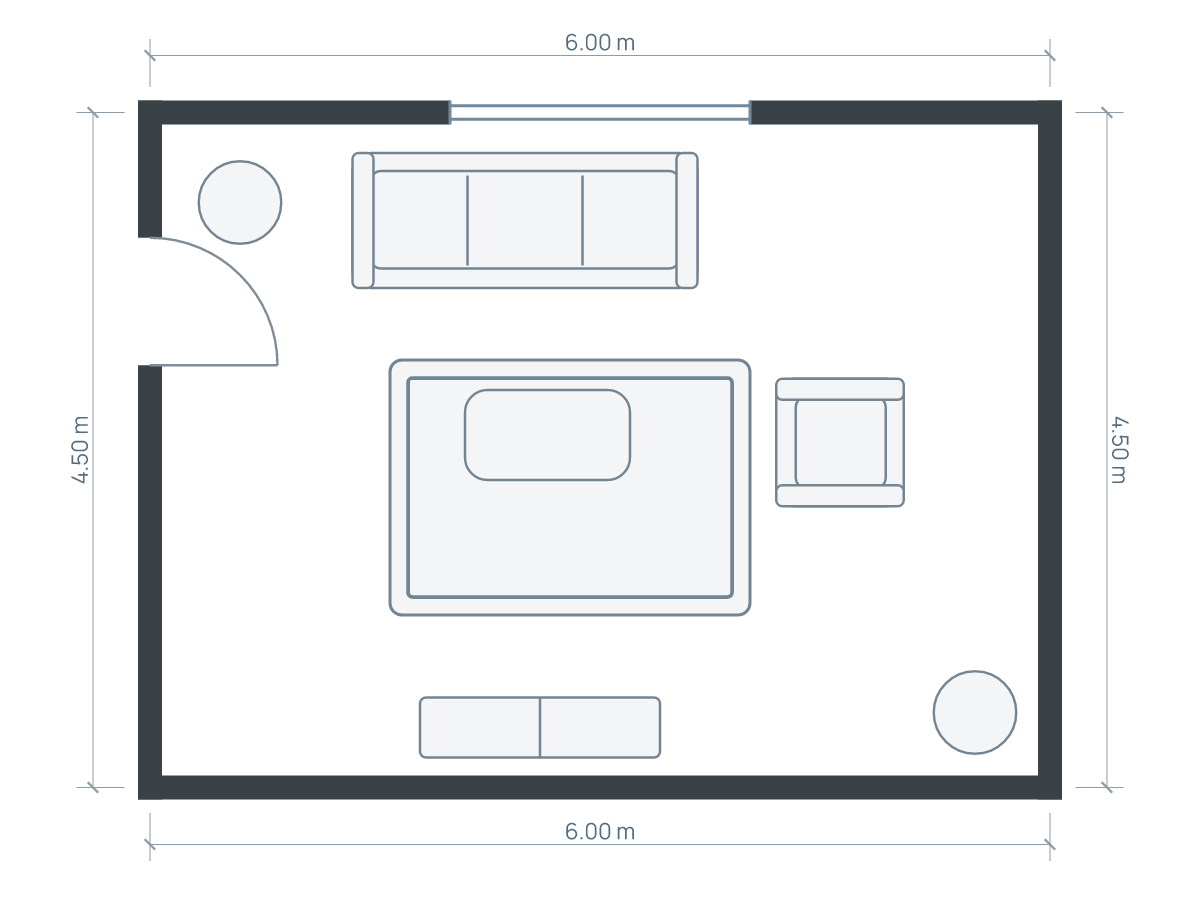
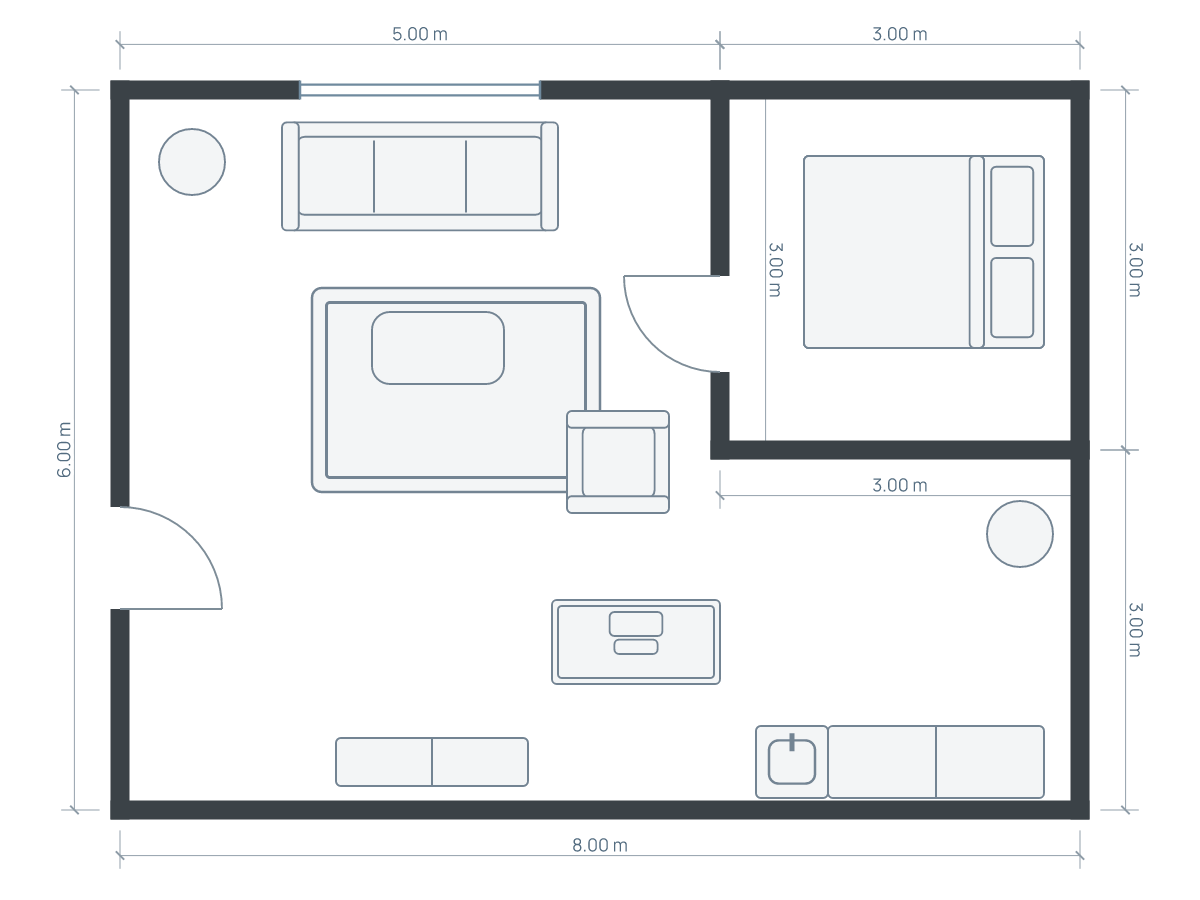
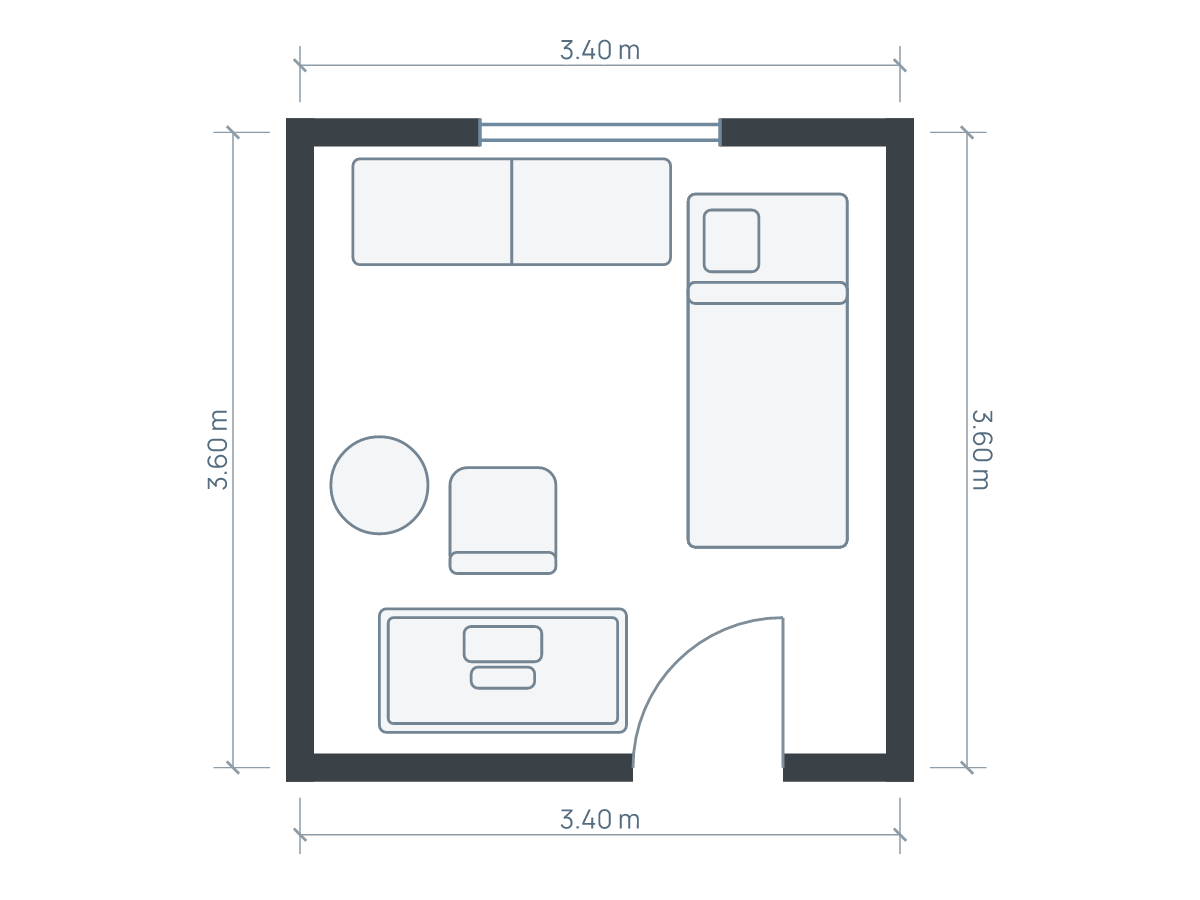
Related editable example shown above. The written worked example may use a different room or furniture size; follow its stated dimensions. Illustrations show footprints; drawer travel, vertical clearances and continuous walking routes need separate checks.
Label corners and choose a reference
Sketch the outline on paper and label its corners A, B, C and so on, clockwise. Pick a clear corner as the origin for distances along each wall. Record whether a figure is measured between finished wall faces, between skirting faces, or across a recess. Do not silently mix these references.
For each wall, keep four columns: start point, end point, measured length and notes. For an opening, add the distance to its near edge, its width, and the remaining wall. Record the door's hinge and swing as well as its opening. Photograph the labeled sketch alongside the room so the notes remain understandable later.
Diagonals are useful cross-checks for the relationship between corners. Bosch's MeasureOn documentation likewise describes corner-to-corner measurements as a way to determine room angles. Equal-looking walls on a sketch are not evidence that the real corners are right angles.
Worked survey: an L-shaped room
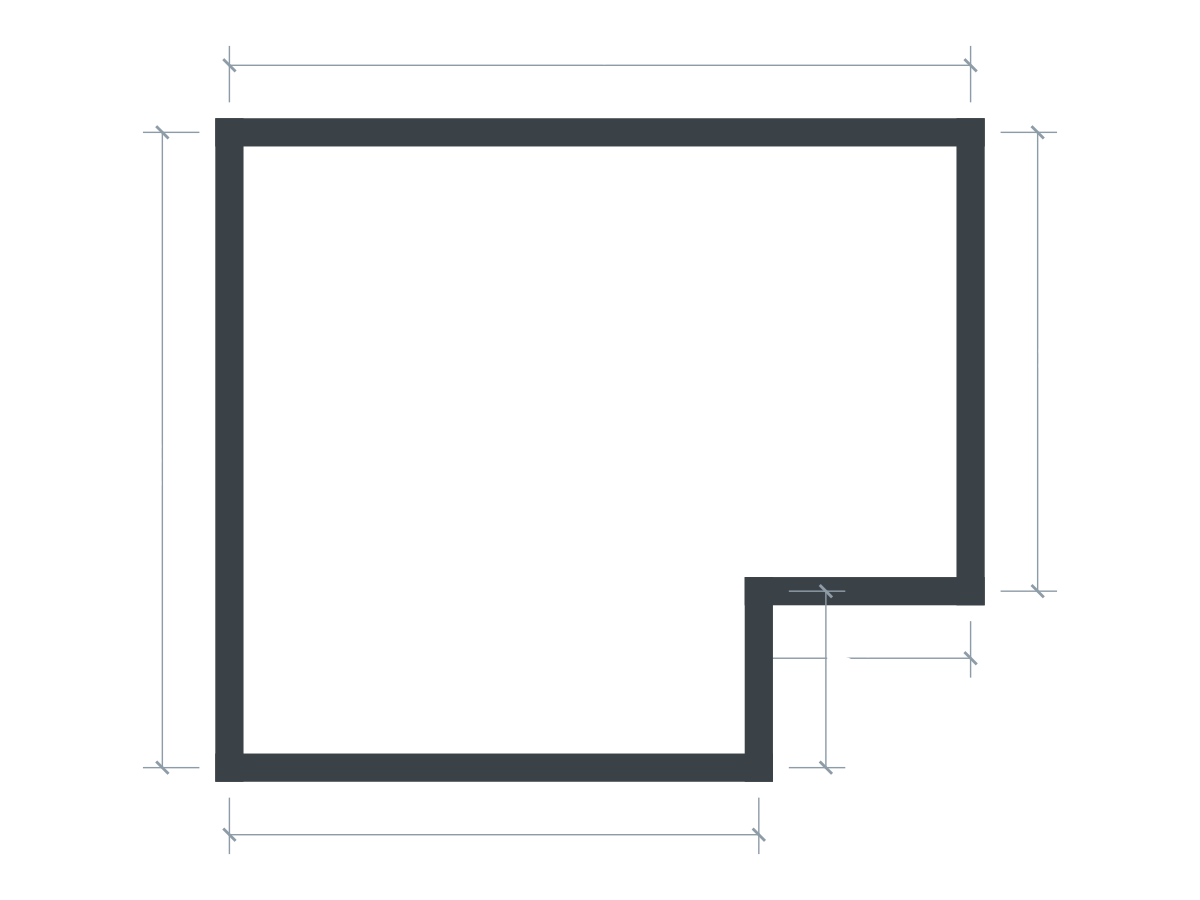
Imagine a nominal 4.20 × 3.60 m outline, with a 1.20 × 1.00 m notch removed from its upper-right corner. Those dimensions are approximately 13.78 × 11.81 ft, with a 3.94 × 3.28 ft notch. Start at the lower-left corner and walk clockwise: the six wall runs are 4.20, 2.60, 1.20, 1.00, 3.00 and 3.60 m.
The horizontal runs reconcile because 3.00 + 1.20 = 4.20 m. The vertical runs reconcile because 2.60 + 1.00 = 3.60 m. The illustrative floor area is 4.20 × 3.60 − 1.20 × 1.00 = 13.92 m², about 149.83 ft². Area describes how much floor exists; it does not say where a sofa can go. Preserve the notch in the plan instead of converting the room into a rectangle of equal area.
Suppose the 4.20 m wall contains a door. Your worksheet records 0.65 m to its near edge, a 0.85 m opening, and 2.70 m beyond: 0.65 + 0.85 + 2.70 = 4.20 m. If the final segment reads 2.74 m instead, the 40 mm discrepancy needs a repeat measurement. Do not distribute the difference across the drawing simply to make it close.
Resolve discrepancies while the room is accessible
Check for an angled tape, an endpoint taken from trim rather than wall, or a recess measured at a different height. Repeat the full run and the suspect segments from the same physical references. Record unresolved differences instead of rounding them away. The acceptable uncertainty depends on the decision: loose furniture placement and fitted cabinetry do not demand the same assessment.
For a nominal 4.00 × 3.00 m rectangle, a calculated diagonal is 5.00 m, approximately 16.40 ft. Compare both measured diagonals and the wall lengths with that model. A mismatch is a reason to investigate the shape or measurement, not permission to force square corners. For fitted work or construction, arrange a suitable professional site measure.
Keep furniture constraints alongside the outline
Add separate notes for sockets, radiators, fixed cupboards, window sills, low ceilings and the space needed to open each item. A top-down window symbol cannot establish whether a desk fits underneath it. A door's nominal width also differs from the unobstructed opening available for delivery.
When entering the sketch in Planlilt, remember that its wall dimensions follow wall centerlines. They are not automatically the finished internal clear dimensions you measured. With a 0.16 m wall thickness, a simple opposing pair of walls consumes 0.16 m of the centerline-to-centerline span in total. Treat the outline as a concept model, record your clear internal dimensions separately, and check furniture against the real room.
Before putting the tape away
- Check every corner label against a photograph.
- Reconcile full wall runs with their opening segments.
- Record diagonals where the shape is uncertain.
- List fixed obstacles and vertical constraints outside the floor-plan drawing.
- Mark every dimension you still need to verify.
Then draw your measured outline in Planlilt, place only the largest furniture, and compare the drawing with the room. Fix the shell before refining cushions, finishes or smaller objects.
Sources and editorial approach
Published by Planlilt. Worked dimensions and layout choices are illustrative assumptions unless a source is identified beside a claim. Feet use 1 ft = 0.3048 m and are rounded decimal equivalents. No search-volume estimates or professional certification are implied.
- Bosch Professional: MeasureOn documentation — Corner-to-corner diagonal measurements help determine room angles; the worked survey and calculations are original illustrative examples.
Original Planlilt geometry; illustrative 2D plan, not a photograph or 3D render.